
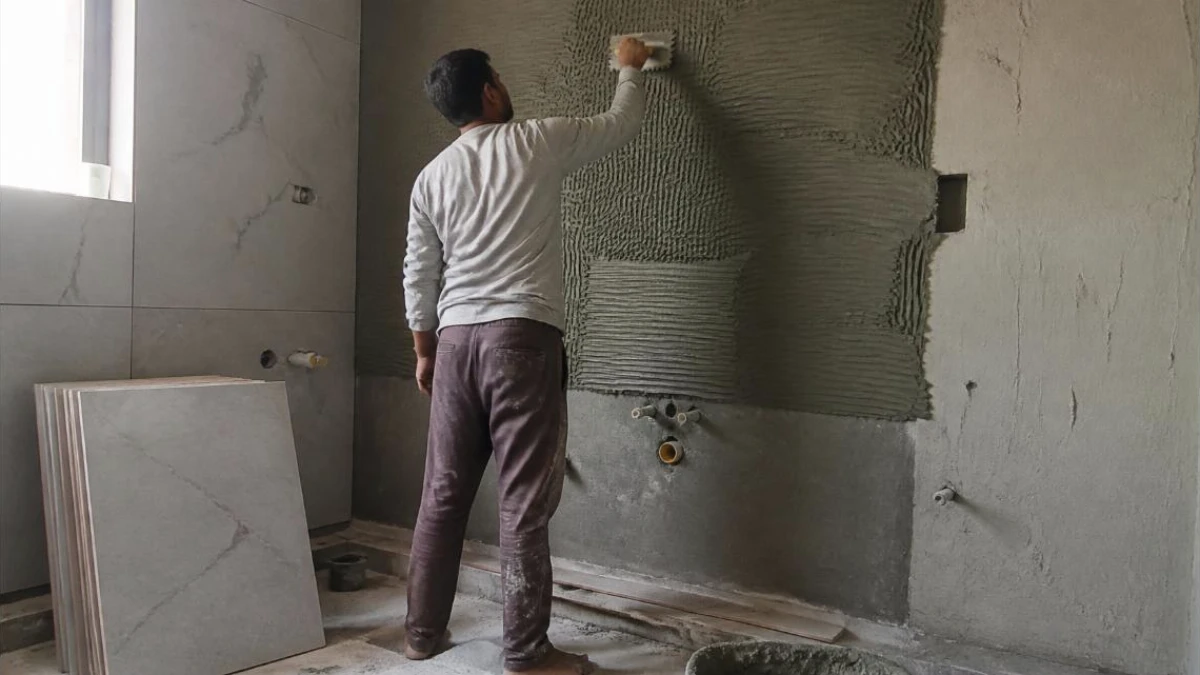
Hollow-sounding tiles, tiles that pop up in summer and cracked joints are common complaints in Indian homes and offices. In most cases the tile is fine; the problem is how it was fixed. Builders now choose between the traditional thick bed of sand-cement mortar and modern polymer-modified tile adhesives. This guide explains the difference and when each one makes sense.
1. Traditional cement mortar bed
In the conventional method, a 20 to 40 mm bed of cement and sand mortar is laid and the tile is pressed into it, often with a cement slurry on the back. It is familiar to every mason and works for small ceramic tiles on floors. Its weaknesses are shrinkage as the thick bed dries, poor grip on vitrified tiles that absorb almost no water, extra dead load on slabs and more material and water on site.
2. What tile adhesive is
Tile adhesive is a factory-made mix of cement, graded fine sand and polymers. It is mixed with water and applied in a thin bed of about 3 to 6 mm with a notched trowel. The polymers give it grip on dense surfaces, some flexibility and longer open time. Adhesives are sold in classes for normal and improved performance, and for wall, floor, external and tile-on-tile use; read the bag for the class and the uses the maker approves.
3. When adhesive is the better choice
- Vitrified and large-format tiles such as 600×1200 mm slabs, which need full coverage and strong grip.
- Wall tiles in bathrooms and kitchens, where a thin bed keeps walls straight and light.
- Tile-over-tile renovation where breaking the old floor is not practical.
- External walls, terraces and swimming pools, using a high-grade flexible adhesive suited to heat and movement.
- High-rise and fast-track projects, where lower dead load and faster work matter.
4. Site steps for good results
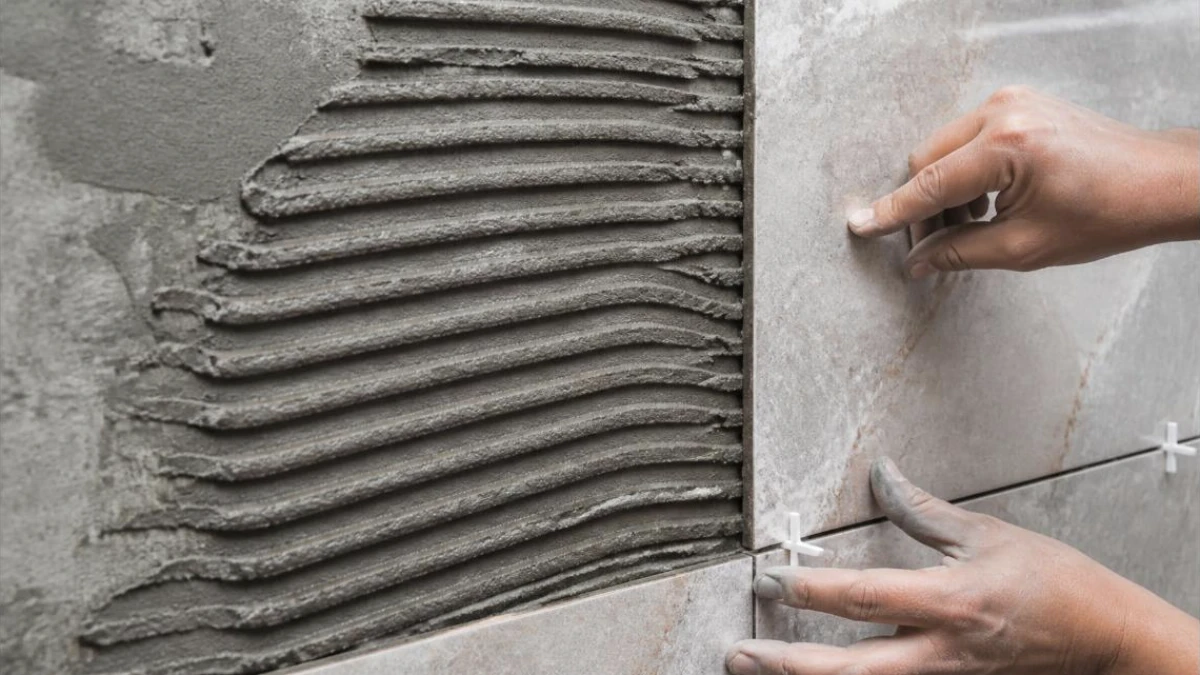
- Make the surface level, sound and clean. Adhesive is not meant to correct big level differences; fix those with plaster or screed first.
- Mix with clean water as per the bag ratio using a slow-speed mixer, rest it for the time stated, then remix.
- Choose the trowel notch to suit the tile size so that the back of the tile is fully covered.
- For large tiles, back-butter the tile as well as the surface, and press it with a slight sliding motion.
- Lift a tile now and then to check coverage. Hollow spots lead to cracks and debonding.
- Leave movement joints at room edges and at regular intervals on large floors and external areas.
- Grout only after the adhesive has set as per the maker’s time, using a grout suited to the joint width.
5. Common mistakes
- Using the adhesive like mortar in a thick bed.
- Applying adhesive in spots (“dot and dab”) instead of a full bed.
- Fixing tiles after the adhesive has skinned over.
- No expansion joints on large or sun-exposed floors.
Good tiling starts with a good base. See our guides on plastering types, flooring options for commercial buildings and waterproofing roofs and basements before you tile wet areas.
Frequently asked questions
Is tile adhesive costlier than mortar? The material can cost more per square metre, but thinner beds, less wastage, faster work and fewer failures often balance it out. Compare the full installed cost.
Can adhesive be used on a fresh plaster wall? Let the plaster cure and dry as recommended before tiling, so shrinkage does not crack the tiles.
Talk to ATTPL Infra
ATTPL Infra supports builders, institutions and businesses in Rajasthan with planning, execution and site supervision. Call our toll-free number 1800 890 0815 or visit infra.attplai.com to discuss your project.